Two generations of wear
1st November 2018
The ring had been worn by his grandfather who passed it down to his father. It was now his turn to wear the ring but it was broken and unwearable. What to do?
The ring


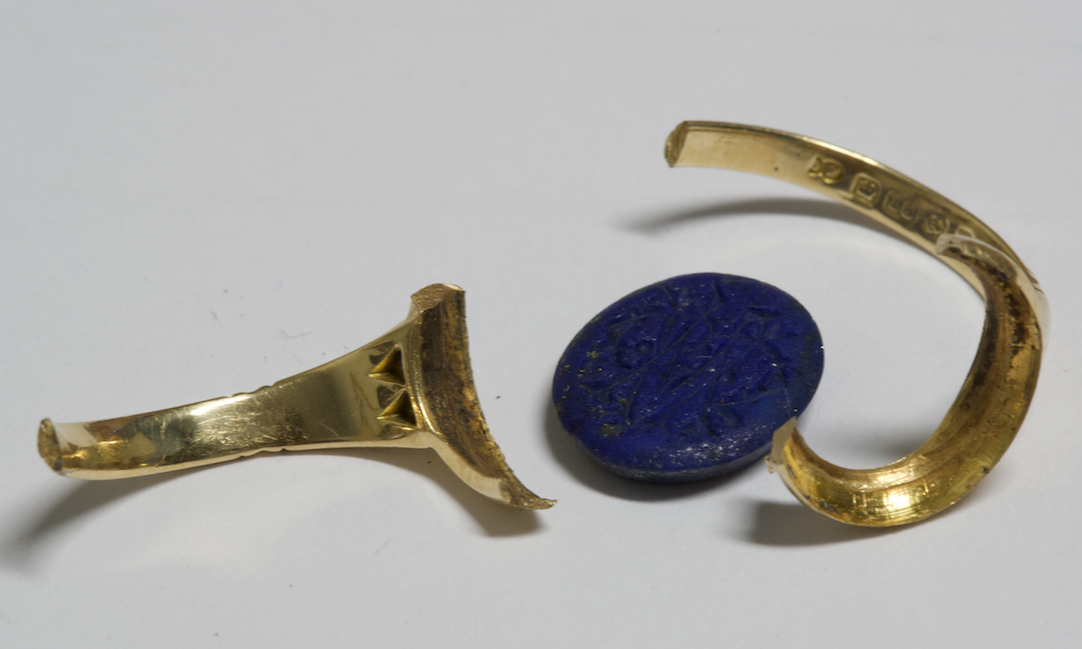
The gemstone has letters engraved into the top. The ring is 18ct yellow gold and some issues that needed to be addressed were:
bezel around the gem badly worn
band very thin at the base and cracked
underneath and side of the ring worn from rubbing next to another ring
Mystery number 1: What is the gemstone?
Lapis Lazuli
My customer did not know what type of gemstone was in the ring. It is Lapis Lazuli and the gold coloured specs in the gem are the give away. Lapis (as it is often referred to as) is a deep blue metamorphic rock. The gold colour flecks are brassy pyrite.
Lapis is the latin word for stone. Lazuli is the genitive form of the latin word lazulum and is derived from the Arabic word Lajaward, which is derived from the Persian word Lajevard which was a place where Lapis was mined. So the literal meaning is “the stone of Lajevard”.
Mystery number 2: What is the engraving on the Lapis?
My customer was not aware what the engraving on the top of the Lapis was. It is the five letters of his family name stacked on top of each other and then engraved into the gem.
This means that the ring was custom made for the Grandfather and now makes it even more special. That Lapis is pretty much irreplaceable!
To repair or not to repair? That is the question.
I stopped doing repairs a long time ago so when this customer first came to me I informed him of this. If I was going to work on this ring it would be a full restoration.
As I restore the ring part of the process is the same as repairing and it highlights why repairing a ring like this gives a far inferior result to remaking.
Let`s get started
We needed to build up the sides of the ring that had been worn away from years of another ring rubbing next to it. We also needed to add some gold to the inside of the ring to thicken it up as it was bending out of shape and had already cracked. This is what gold added to one half of the ring looks like…it is messy.
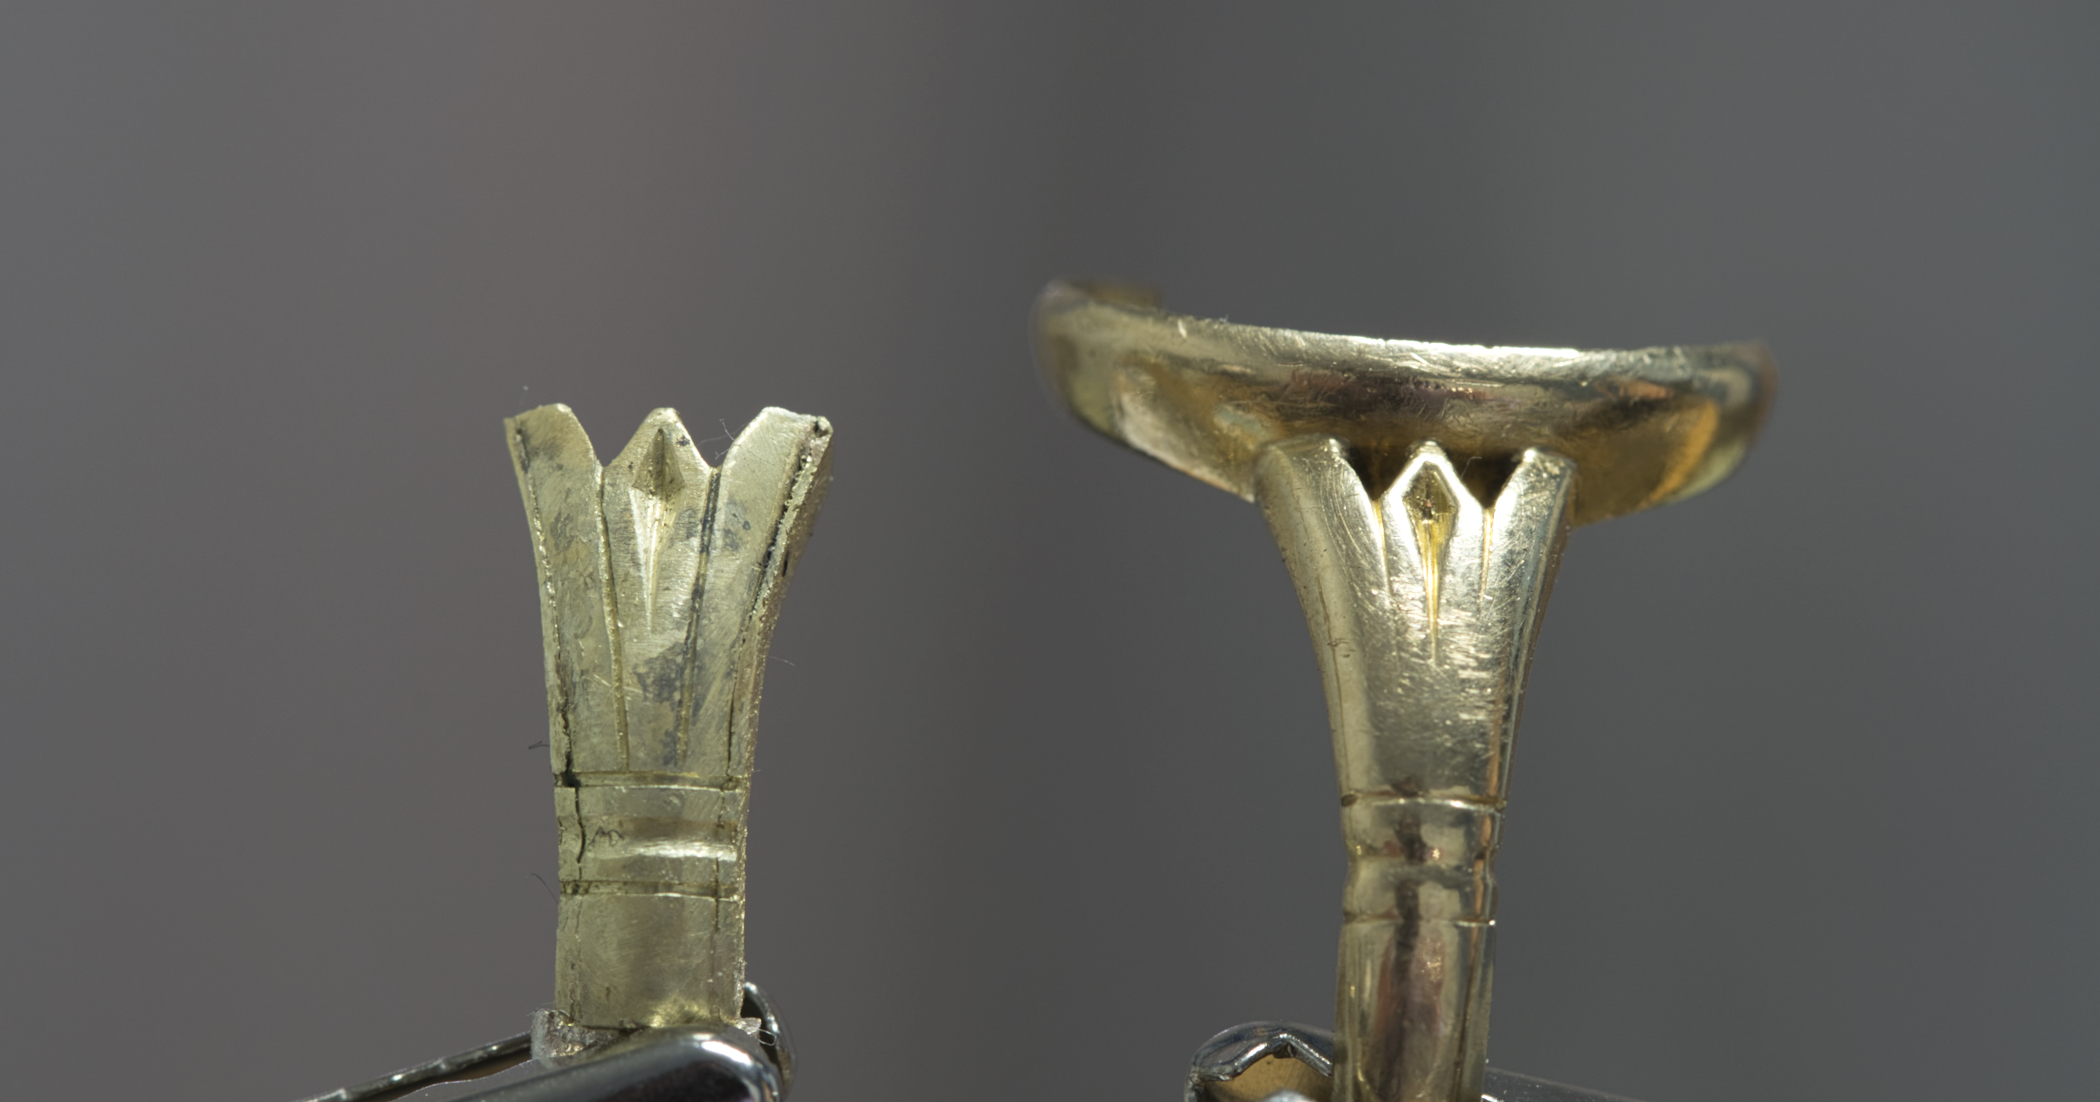
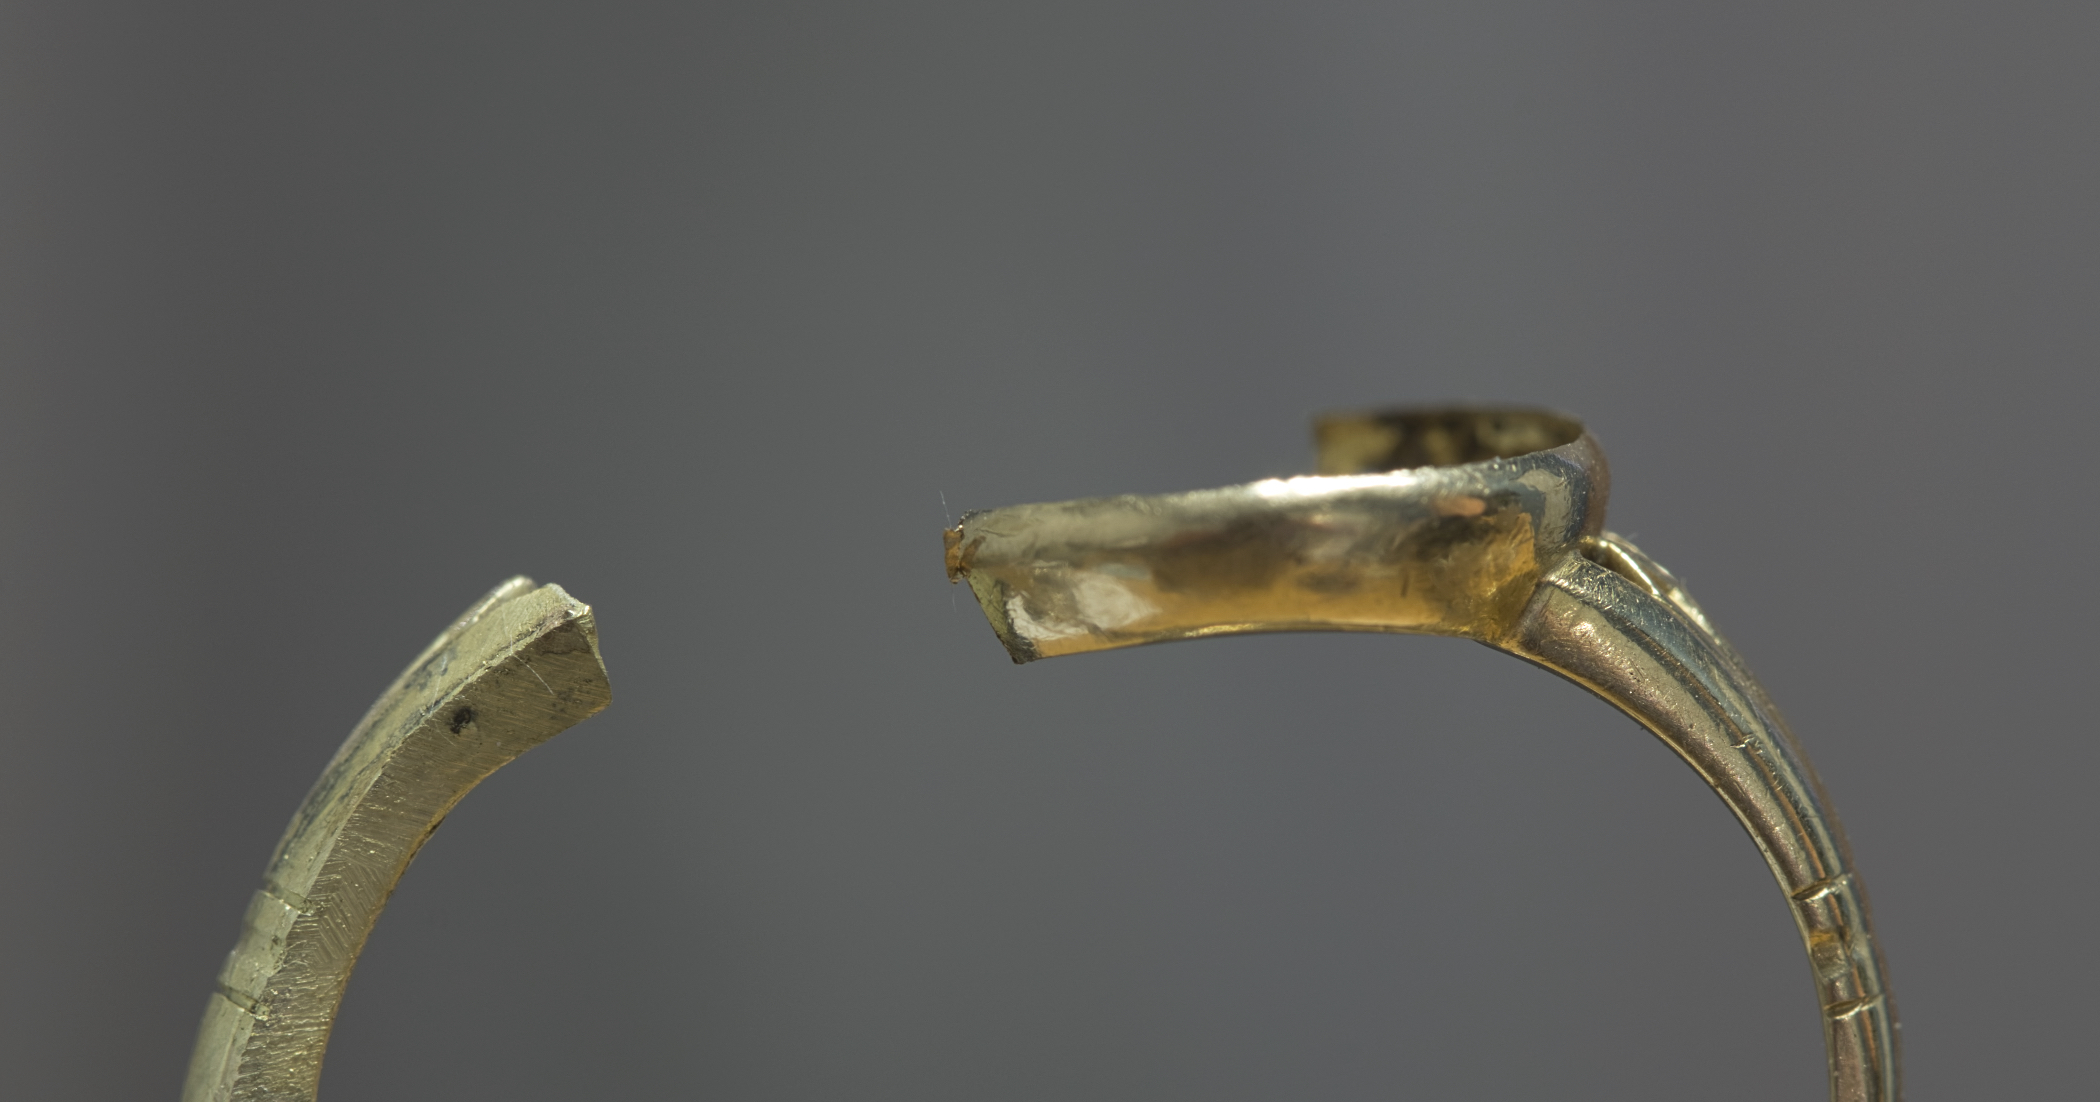
I admit I have not bothered to complete or clean up the joins on the repaired version on the left in the photos above. Leaving them unfinished is fine for this process as you will see. It also shows you more clearly the size and amount of joins involved and that we are heading towards a ring of many pieces with a repair.
Another point is that if we had repaired the ring then the gem would have had to be removed as it would not have survived the heat of adding the gold. Removing the Lapis safely, remembering it is unique, would have destroyed the setting requiring it to be totally remade anyway.
I thought we were not repairing the ring?
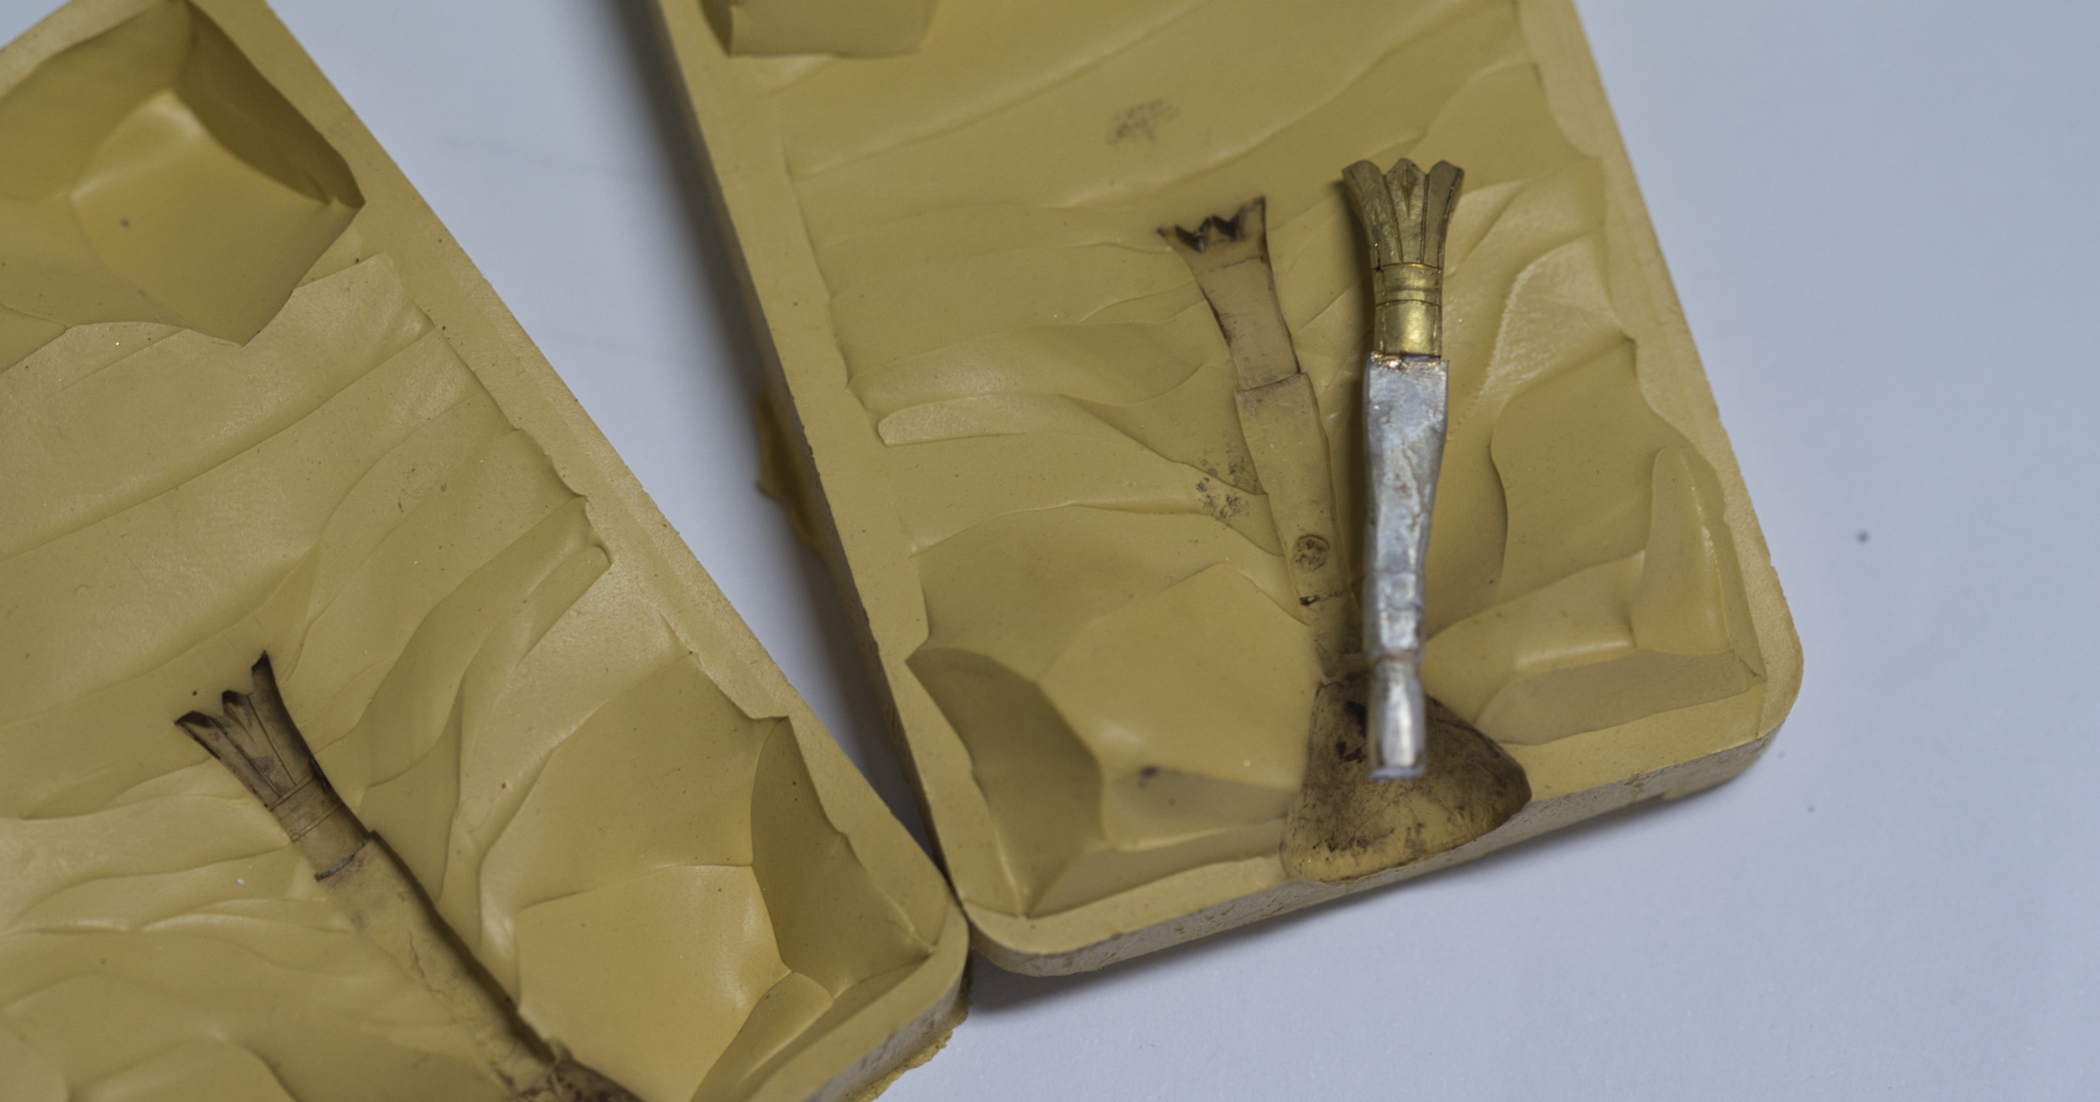
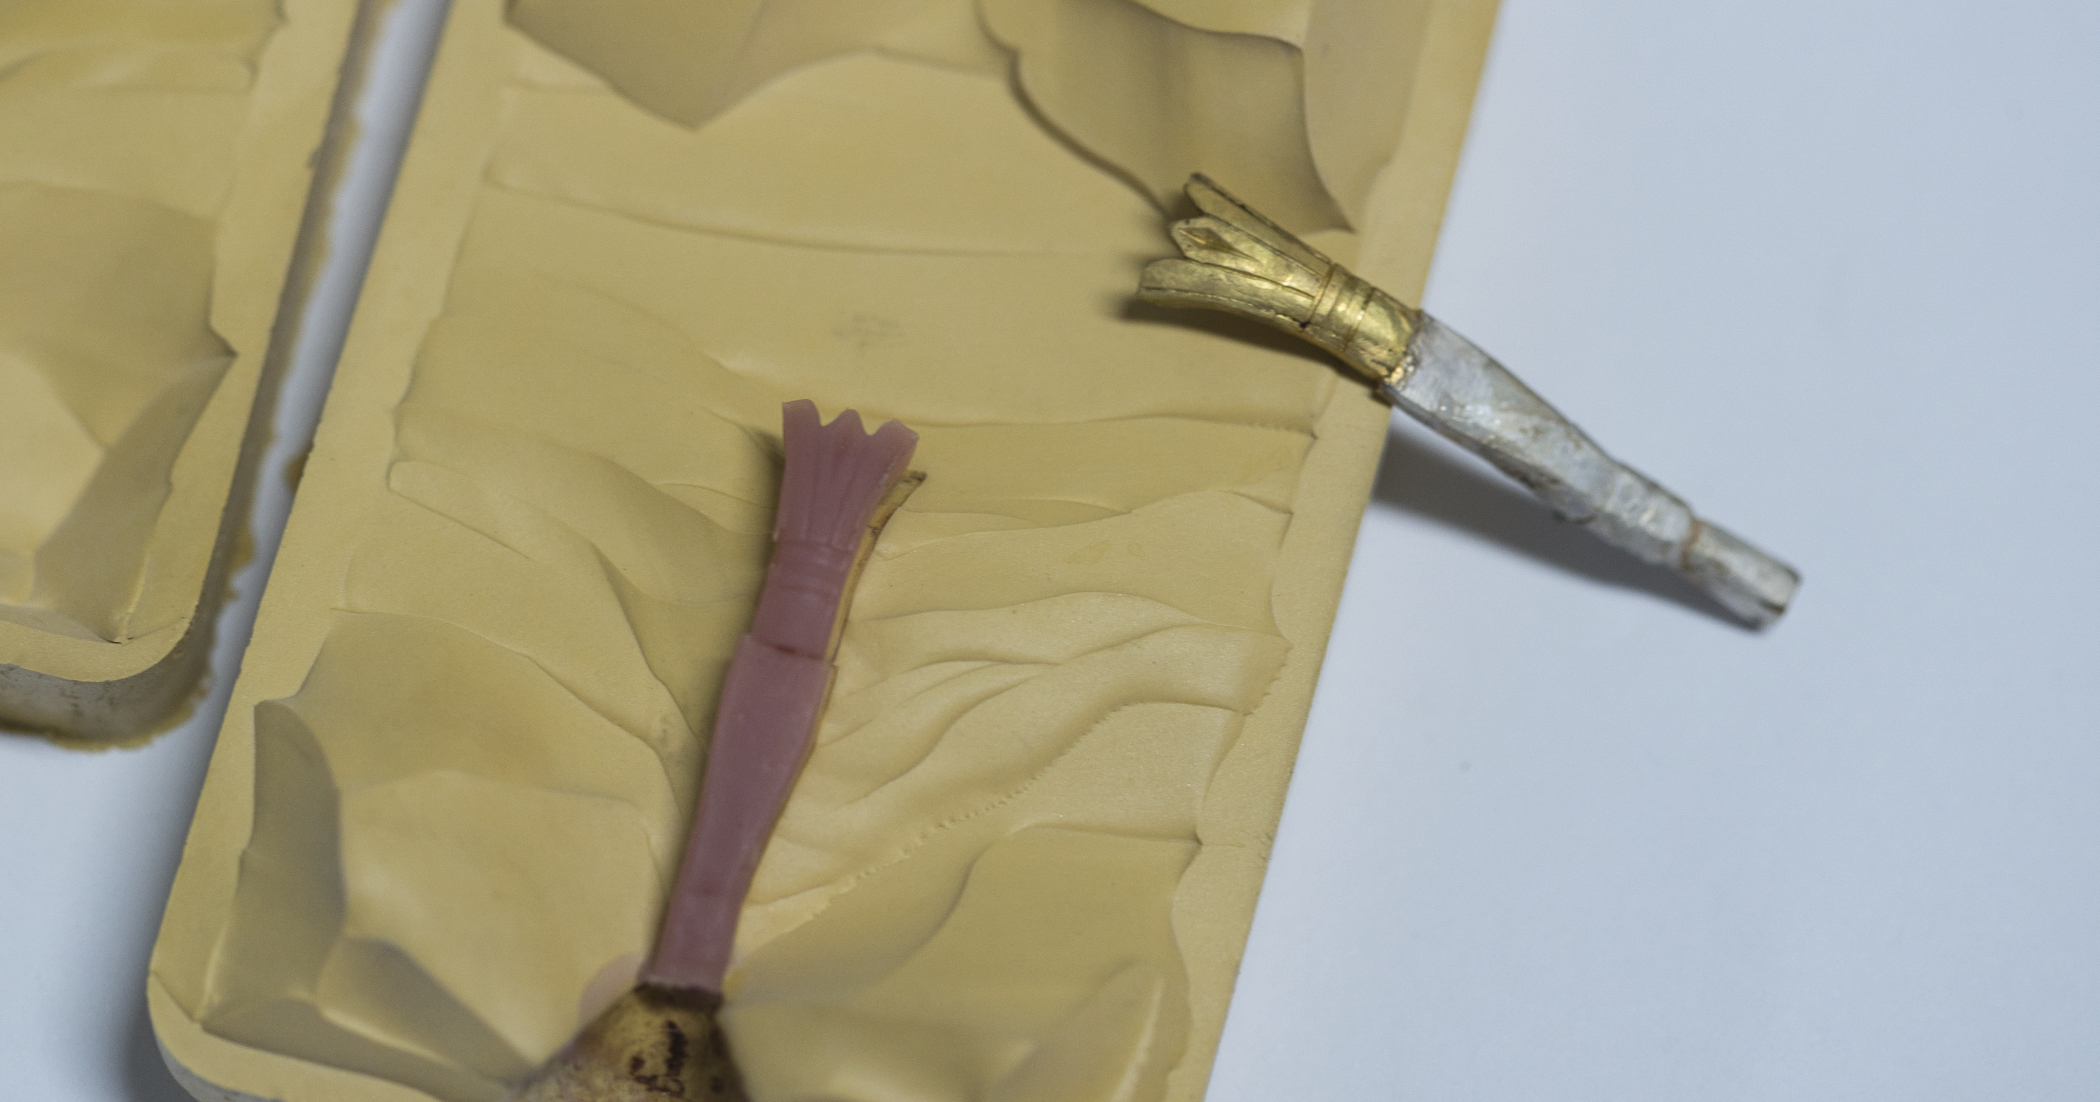
I built up one side of the original rings shoulder so that we could take a pattern of it in a repaired state. Once that was done I could then produce in wax two identical sides.
Side of the ring worn away from rubbing next to anther ring.
In the photo above you can see that the side of the band over the years had worn down and was now much narrower than it originally was.
I recreated that band in wax wider and thicker to ensure that the restored version of the ring would last another 2 generations. In wax I then connected it to the two shoulders from the mould.
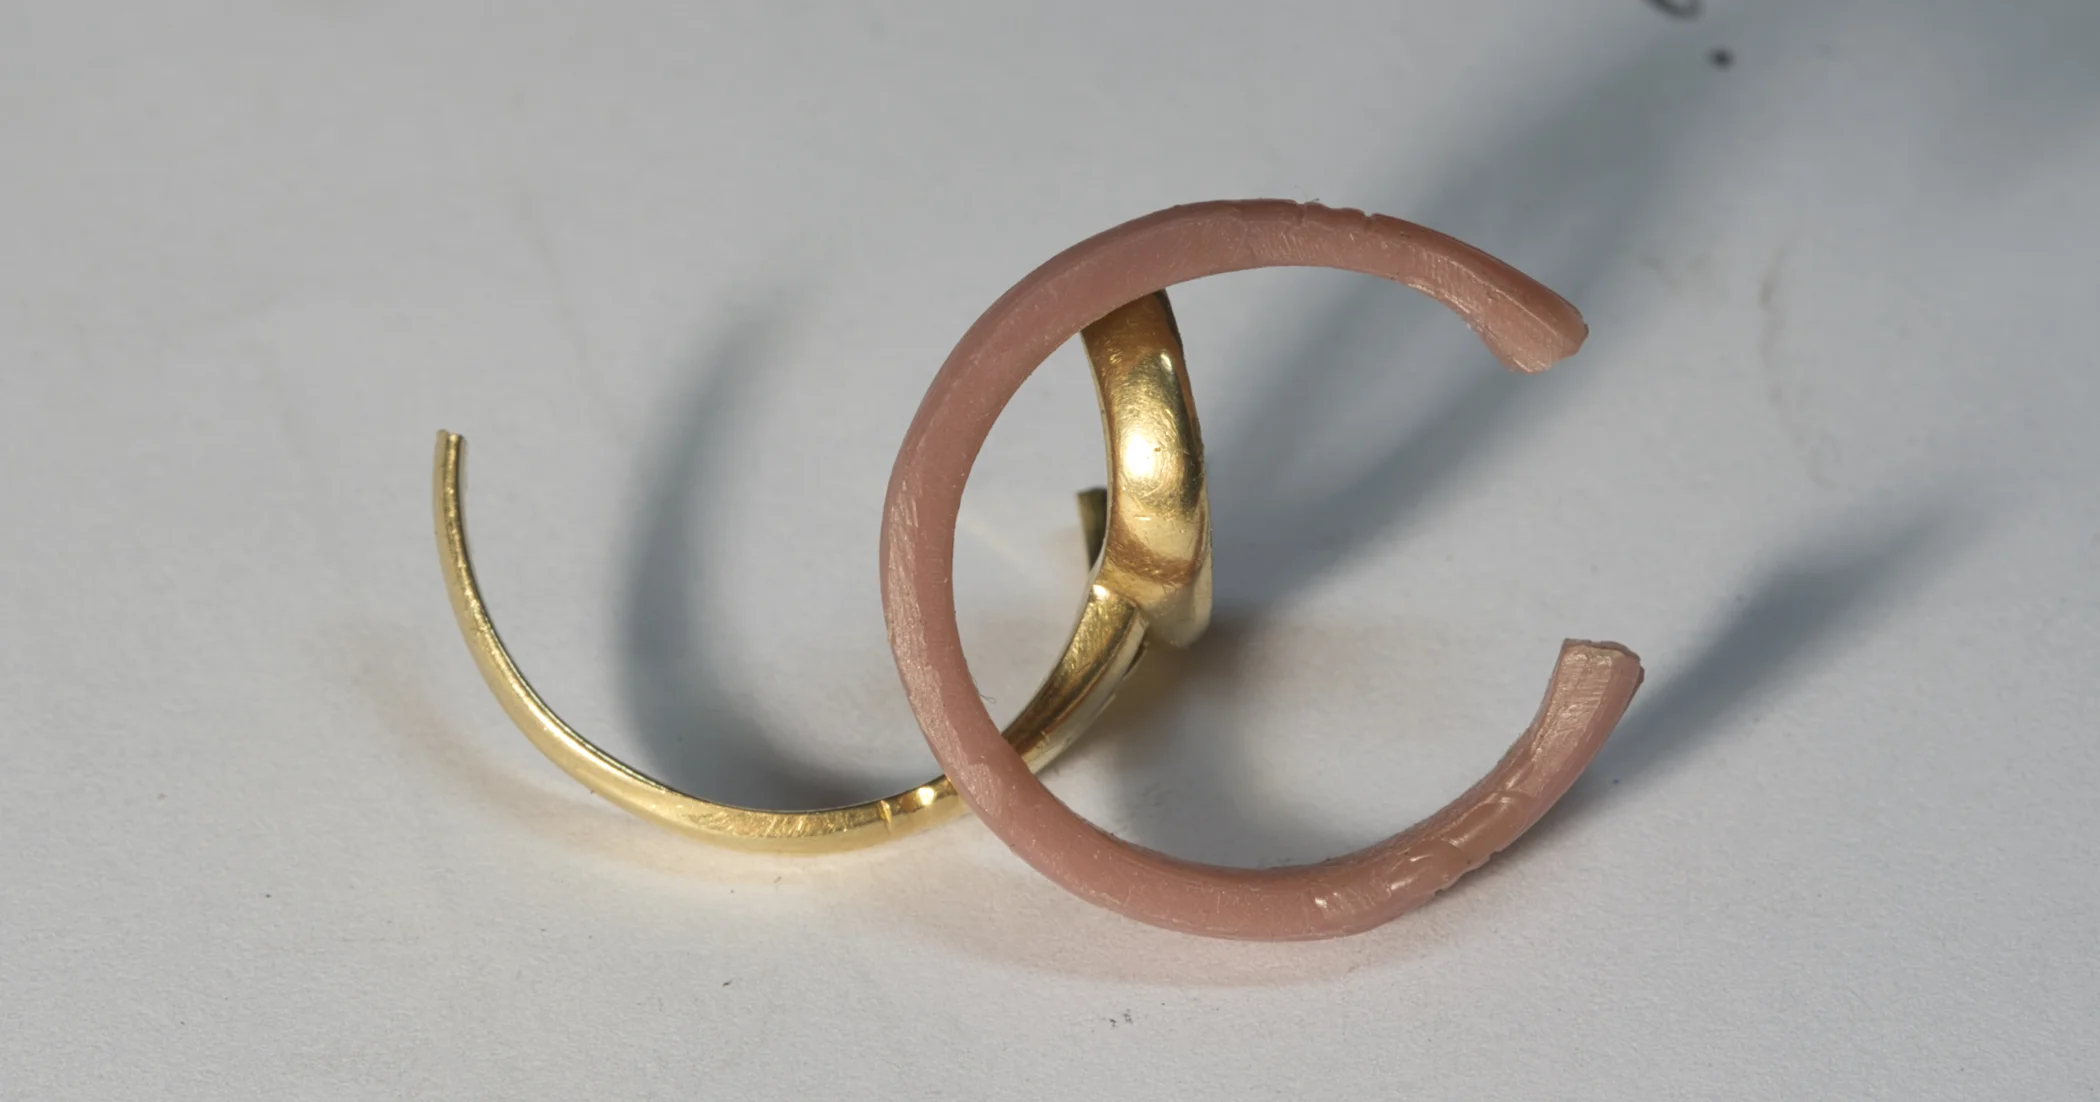
The new band in wax next to the old.
You can clearly see in the photo above that version 2 of this ring would be much stronger than version 1. The weight of the finished ring would be 50% greater than the original.
Bringing it all together.
The new ring in two pieces of wax.
In the photo above you can see the new band in wax. I have also created in wax the new setting for the Lapis.
Up until now I have been constantly referring back to the original ring to make sure that we are staying true to the design. To recap this is what we have done so far:
restore worn away gold to the outside of the band.
thicken the band
restore some lost line detail to the shoulders
rebuild the main gem setting with a thicker edge
The final step would be to lost wax cast the ring in two pieces using the old ring and adding in some new. You can read more about lost wax casting in this Wikipedia article.
Casting the ring in two pieces would enable me to finish the ring to a higher standard before I assembled it. It is now time to say goodbye to the old ring.
Before we say good bye to the old ring
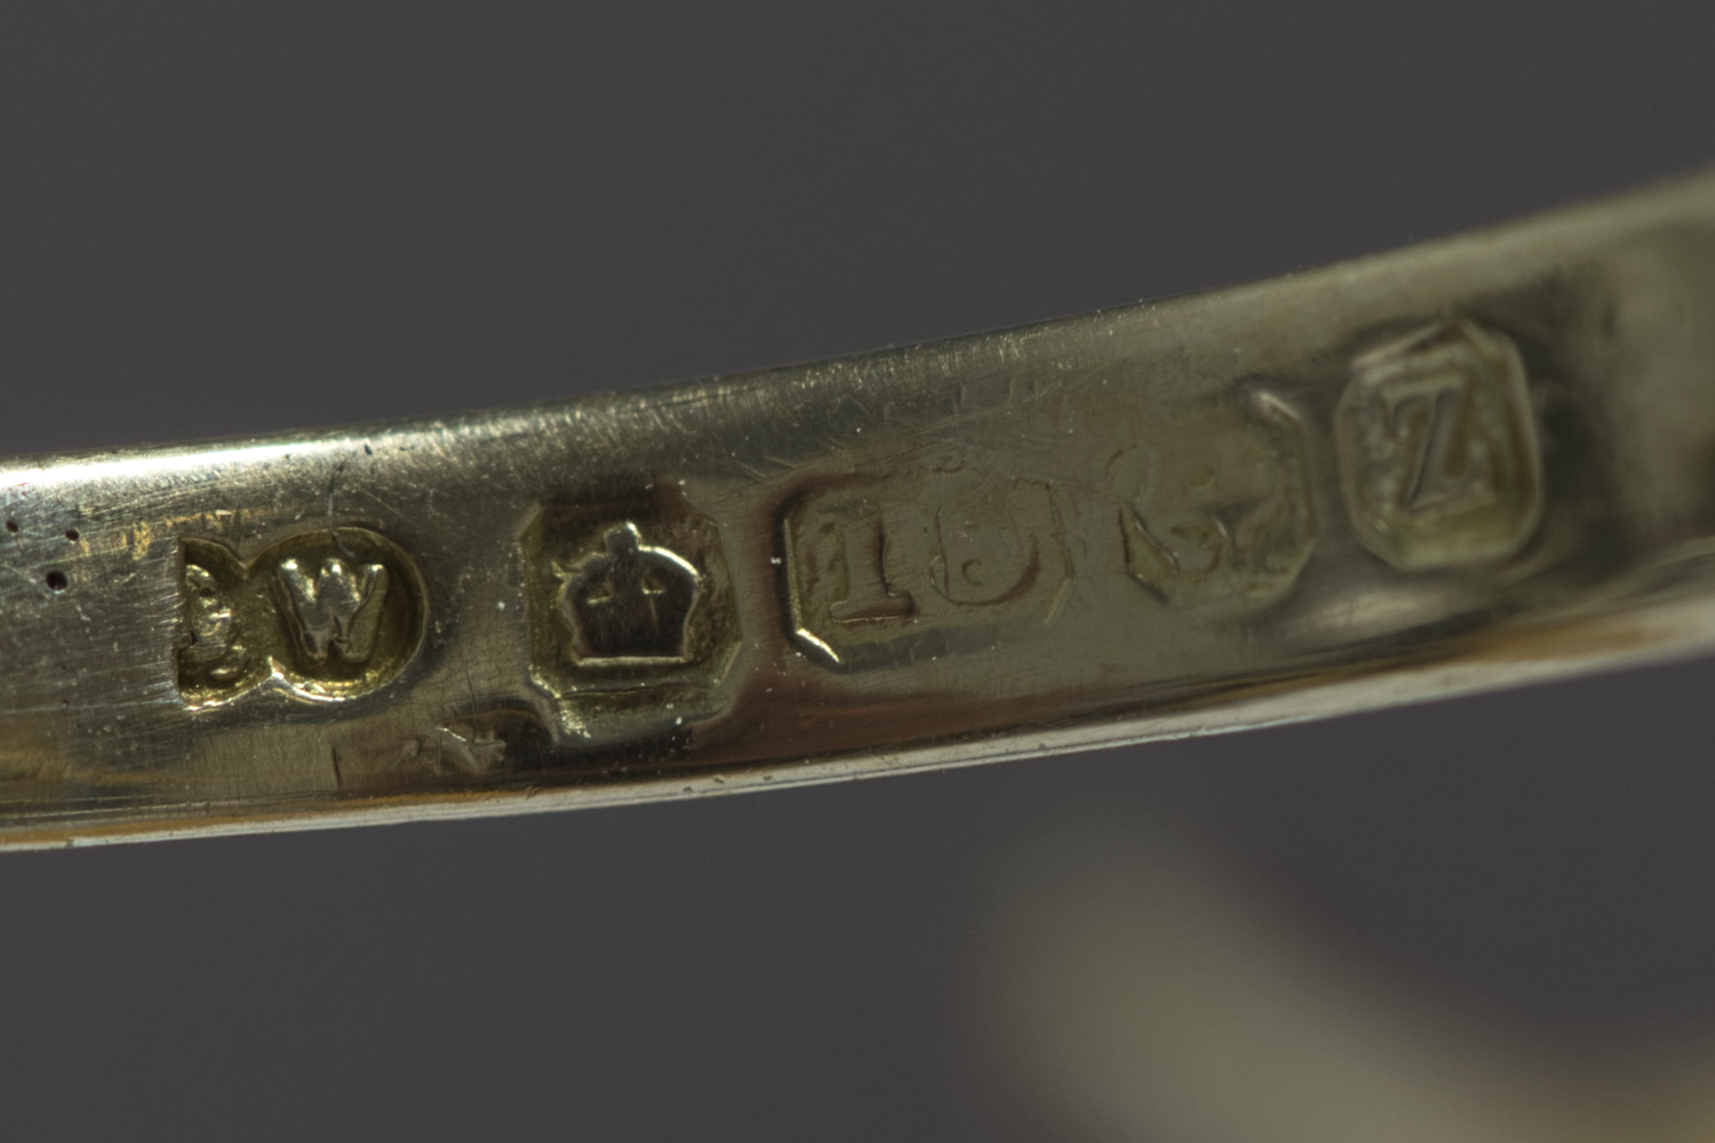
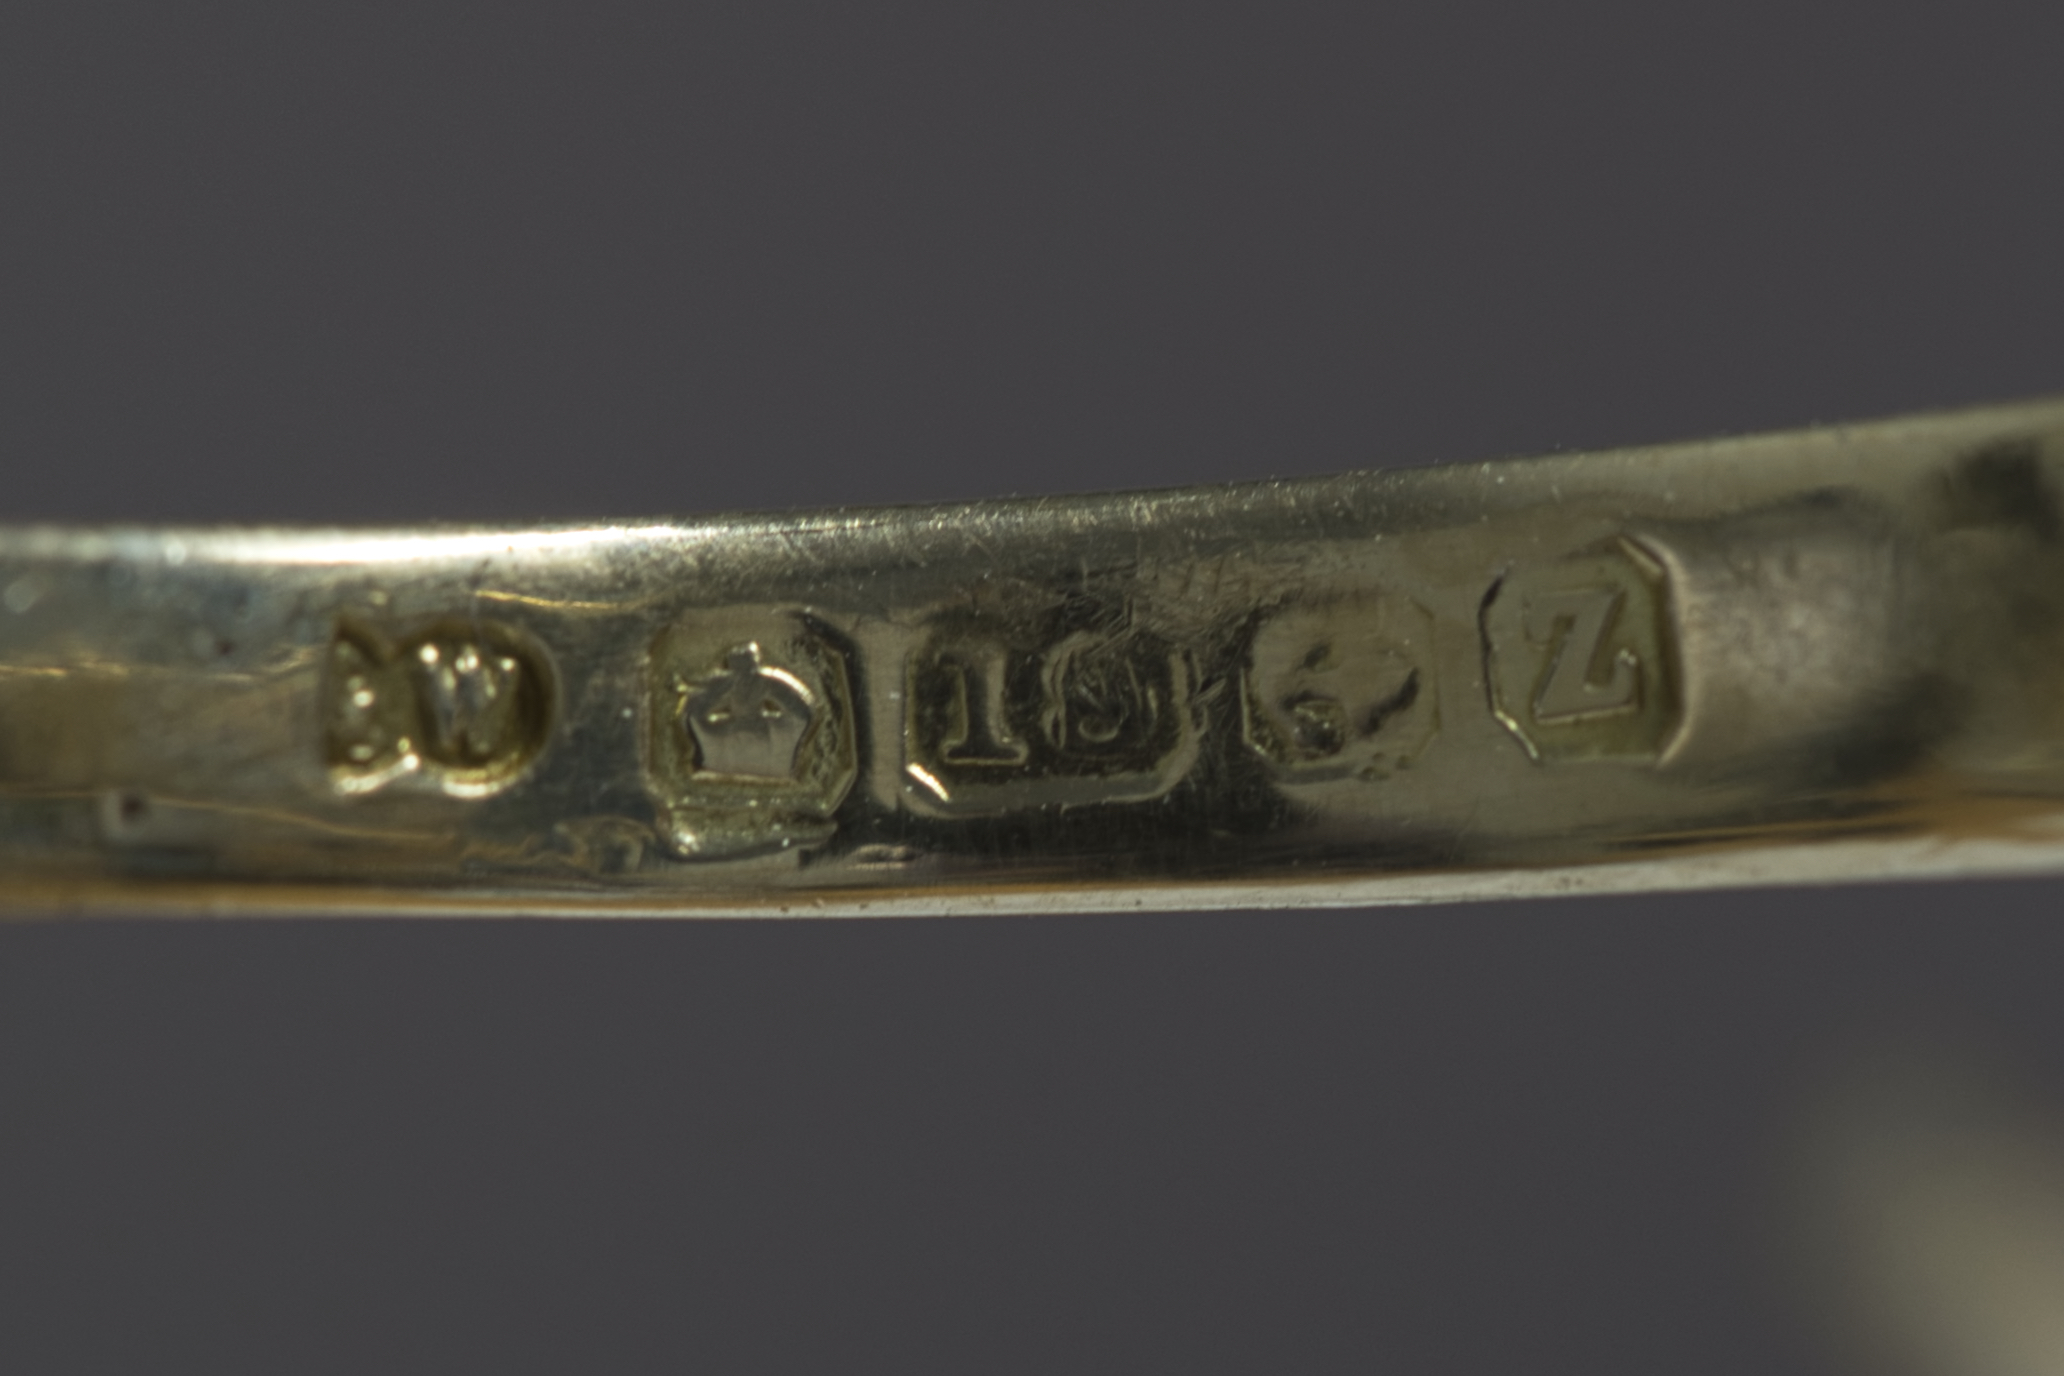
There was one aspect of the ring that I would be unable to restore. Inside the ring were a series of hallmarks. So that the customer had a reference I photographed them before melting the ring down.
The restored ring


Both the customer and myself were thrilled with how well this restoration came out. Some mysteries solved along the way and now a ring that can be passed onto the next generation.


